Whether you’re baking crusty bread, tender cakes, or golden cookies, your oven is your most important kitchen companion. But did you know that many baking mishaps are caused by misunderstood oven behavior rather than flawed recipes? Understanding your oven’s quirks, mastering temperature control, and making a few smart adjustments can turn your baked goods from average to amazing.
1. Ovens Aren’t Always Accurate
Despite what the dial or digital display says, ovens can often run hot or cold—sometimes by as much as 10–25°C (20–50°F). This can lead to underbaked centers, burned edges, or dry textures. To overcome this, invest in a reliable oven thermometer. Place it inside your oven and use it as your guide rather than trusting the built-in temperature display.
2. Know Your Oven’s Hot Spots
Ovens can heat unevenly, with certain areas getting significantly hotter. These “hot spots” can affect how your food bakes, often causing cookies or pastries on one side of a tray to brown faster than the other.
To find your hot spots:
- Line a baking tray with slices of white bread.
- Bake at 180°C (350°F) for a few minutes.
- Observe which slices brown first—that’s where your hot spots are.
Now that you know, you can rotate pans during baking or adjust placement to get more even results.
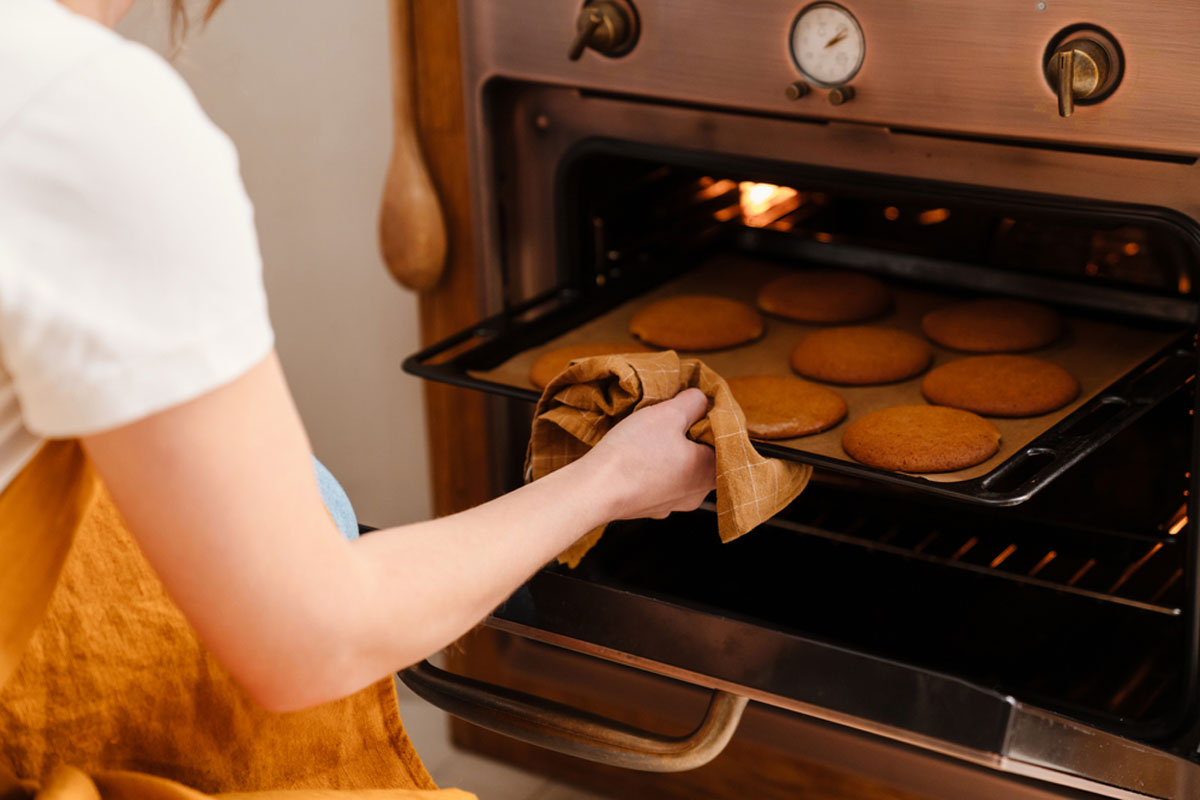
3. Preheating Is Non-Negotiable
Skipping the preheat can throw off cooking times and textures. Most recipes are timed based on the food entering an oven that’s already at the correct temperature. Preheat for at least 10–15 minutes, and use your oven thermometer to verify the temperature has been reached.
Pro tip: For bread or pastry recipes that require a strong rise or initial puff, a fully preheated oven is crucial.
4. Convection vs. Conventional: What’s the Difference?
Many modern ovens come with convection (fan) settings. Convection circulates hot air around the oven, which can speed up cooking and provide a more even bake. But not all recipes are written with convection in mind.
- When using convection: Lower the recipe temperature by about 15–20°C (25–35°F) and check for doneness earlier.
- Best for: Roasting vegetables, baking multiple trays of cookies, or achieving a crisp crust.
- Avoid convection: For delicate cakes, soufflés, or anything that might dry out.
5. Rack Position Matters
The middle rack is usually the go-to for even heat distribution, but certain dishes benefit from different placements:
- Top rack: Good for browning or broiling.
- Middle rack: Ideal for most baked goods.
- Lower rack: Great for crusty breads or pies needing crisp bottoms.
Adjust your rack based on the desired result—and don’t be afraid to switch it up mid-bake if needed.
6. Don’t Peek Too Often
Opening the oven door lets heat escape, often causing the temperature to drop significantly—up to 15°C (25°F) or more. This can affect the rise and texture of cakes, soufflés, and breads. Only open when necessary, and try to do it quickly and gently.
7. Baking with Precision: Use an Oven Timer (but Trust Your Eyes and Nose)
Timers are useful, but baking is also about observation. A cake might pass the toothpick test before the timer rings, or cookies may brown faster due to hot spots. Rely on visual and aromatic cues as much as the clock.
8. Oven Calibration: When to Call a Pro
If your baked goods are consistently over- or underdone despite using a thermometer and rotating pans, your oven may need calibration. Many ovens allow manual recalibration via the settings panel, or a technician can adjust it.
9. Let Your Oven Cool Gradually
After baking, especially for delicate dishes like cheesecake or meringues, turning off the oven and cracking the door slightly can help prevent sudden temperature changes that cause collapsing or cracking.
Final Thoughts
Perfect baking is part science, part art—and your oven is at the heart of both. By understanding your oven’s behavior and adjusting your techniques accordingly, you’ll gain consistency, confidence, and creativity in the kitchen.
From brownies to brioche, the key to baking success starts with mastering the heat. 🔥