Few cookies are as charming—or as versatile—as thumbprint cookies. With their buttery base and jewel-like centers of jam, ganache, or caramel, they’re a perennial favorite for everything from holiday platters to afternoon tea. But while they may look simple, achieving that bakery-style finish takes a bit of know-how.
What Are Thumbprint Cookies?
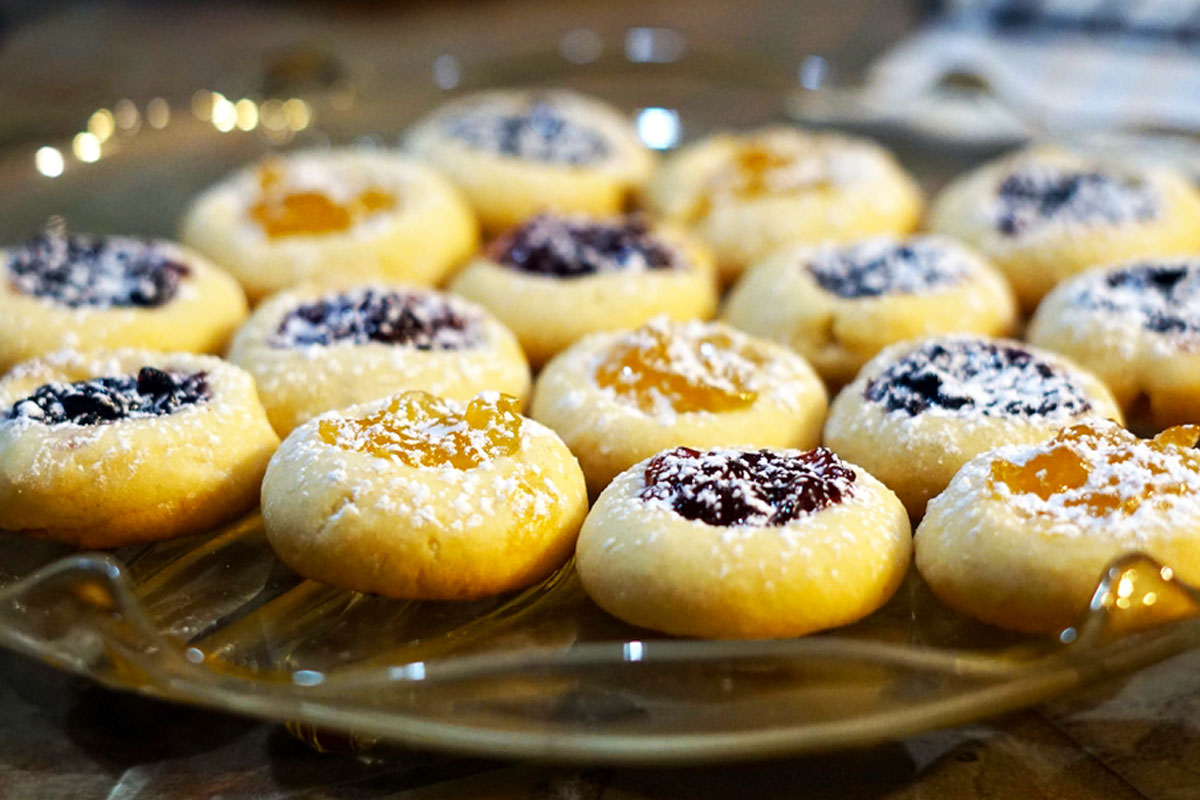
Thumbprint cookies are small, round shortbread-style cookies with a central indentation (traditionally made with your thumb) filled with something sweet—most commonly jam. Their Scandinavian origins have spread across the globe, and variations now include chocolate, nuts, citrus curds, and even savory versions.
Ingredients for Classic Thumbprint Cookies
Here’s what you’ll need for a standard batch of classic jam thumbprints:
Cookie Dough Base:
- 1 cup (225g) unsalted butter, softened
- 2/3 cup (130g) granulated sugar
- 1/2 tsp vanilla extract
- 1/4 tsp almond extract (optional but adds depth)
- 2 cups (240g) all-purpose flour
- 1/4 tsp salt
Filling:
- 1/3 to 1/2 cup of your favorite jam (raspberry, apricot, strawberry, etc.)
Tip: Choose a jam that’s thick—not runny—to avoid bleeding into the dough.
Optional Garnishes:
- Powdered sugar for dusting
- Chopped nuts or shredded coconut for rolling
- Melted chocolate or glaze for drizzling
Step-by-Step Instructions
1. Cream the Butter and Sugar
Use a stand mixer or hand mixer to beat the softened butter and sugar until light and fluffy—this gives your cookies a tender crumb.
2. Add Extracts
Mix in vanilla and almond extract (if using). The almond adds that nostalgic flavor found in many traditional thumbprint recipes.
3. Mix in the Flour and Salt
Gradually add the flour and salt to avoid a flour cloud. Mix just until the dough comes together—don’t overbeat.
4. Chill the Dough
Wrap the dough in plastic wrap and chill for at least 30–60 minutes. This prevents spreading and helps maintain that signature shape.
5. Shape the Cookies
Scoop the dough into 1-inch balls. Roll between your hands for a smooth finish. If desired, roll in chopped nuts, coconut, or coarse sugar.
6. Create the Thumbprint
Use your thumb or the back of a ½ teaspoon to gently press an indentation in the center of each ball. Don’t press too hard—you want a well, not a crater.
7. Fill the Centers
Add about ½ teaspoon of jam to each indentation. Be careful not to overfill—it will bubble and overflow during baking.
8. Bake to Perfection
Bake at 350°F (175°C) for 12–14 minutes, or until the edges are just starting to turn golden. Let them cool on the baking tray for 5 minutes before transferring to a rack.
Decorating Tips for That Picture-Perfect Finish
- Glaze Drizzle: Mix 1 cup powdered sugar with 1–2 tablespoons milk and a drop of vanilla extract. Drizzle over cooled cookies for a bakery look.
- Chocolate Lovers: Replace the jam with a dollop of ganache or Nutella. Top with a sprinkle of sea salt or crushed hazelnuts.
- Dust with Snow: A light dusting of powdered sugar right before serving adds a beautiful finish.
- Holiday Sparkle: Use colored sanding sugar before baking for festive flair.
Variations to Try
- Lemon Curd Thumbprints – Bright and tangy with a dusting of powdered sugar.
- Peanut Butter & Jelly – Use peanut butter cookie dough and a grape or strawberry jam center.
- Chocolate-Caramel Delight – Fill with caramel and drizzle with dark chocolate.
- Savory Option – Use a shortbread base with a touch of rosemary and fill with onion marmalade or tomato chutney for cheese boards.
Storing & Serving
- Storage: Keep in an airtight container at room temperature for up to 5 days.
- Freezing: Freeze unbaked dough balls and fill after baking, or freeze baked cookies (without glaze) for up to a month.
- Serving Tip: Let cookies sit at room temperature for 10 minutes before serving if they’ve been chilled.
Final Thoughts
Thumbprint cookies are the perfect combination of comfort and elegance. With their buttery base and glossy centers, they not only satisfy your sweet tooth but also elevate any dessert table. Whether you’re baking them for holidays, gifting, or just because—they’re guaranteed to earn compliments.
So go ahead—press, fill, and bake your way to thumbprint perfection!