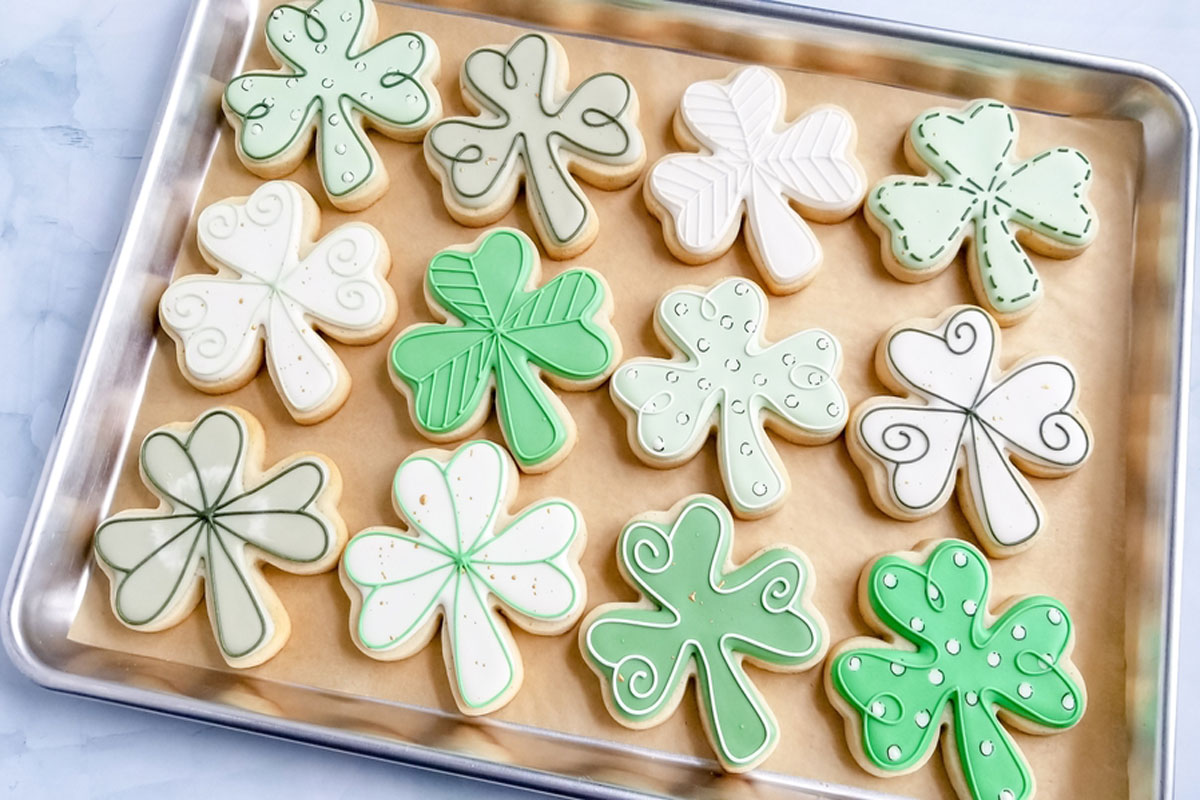
Decorating cookies with royal icing is a beautiful and rewarding art form, turning simple baked treats into edible masterpieces. Whether you’re a beginner or an experienced baker, mastering royal icing can elevate your cookie designs for holidays, special occasions, or just for fun. This guide will walk you through the essential techniques, tools, and tips for decorating cookies like a pro.
What is Royal Icing?
Royal icing is a smooth, hard-drying icing made from three basic ingredients:
- Powdered sugar (confectioners’ sugar) – Provides sweetness and structure.
- Egg whites or meringue powder – Helps the icing dry firm for detailed designs.
- Water – Adjusts consistency for piping and flooding.
Royal icing is perfect for intricate designs because it dries with a glossy, firm finish, making it ideal for detailed patterns, lettering, and layers of color.
Tools and Supplies You Need
To get started, gather the following essentials:
✔ Sugar cookies – A sturdy, no-spread recipe works best.
✔ Royal icing – Mixed to the right consistency (more on that below).
✔ Piping bags – Disposable or reusable piping bags for precision.
✔ Piping tips – Small round tips (#1 to #3) for outlining and details.
✔ Scribe tool or toothpicks – Helps spread icing and remove air bubbles.
✔ Gel food coloring – Provides vibrant colors without thinning the icing.
✔ Decorating brushes – For painting effects and blending colors.
Mastering Royal Icing Consistencies
One of the biggest challenges in cookie decorating is achieving the right icing consistency. Depending on the design, you’ll need different consistencies:
1️⃣ Stiff Consistency
- Holds stiff peaks and does not flow.
- Ideal for piping flowers, ruffles, and fine details.
2️⃣ Medium Consistency
- Soft peaks form but do not hold their shape entirely.
- Used for lettering, piping details, and borders.
3️⃣ Flood Consistency
- Thinner icing that spreads smoothly.
- Used for filling (or “flooding”) cookie surfaces.
- Typically around 10-15 second icing (when a spoonful falls and smooths out within this time).
Pro Tip: Always start with a thicker icing and add water 1 teaspoon at a time to reach the right consistency.
Step-by-Step Guide to Decorating Cookies with Royal Icing
Step 1: Prepare the Cookies
Before decorating, ensure your cookies are completely cooled to prevent icing from melting. A smooth, sturdy sugar cookie recipe works best.
Step 2: Outline the Cookie
- Use medium consistency icing with a small round tip (#2 or #3).
- Pipe a thin border around the cookie to prevent icing from spilling over.
- Let it dry for a few minutes before flooding.
Step 3: Flood the Cookie
- Fill the outlined area with flood consistency icing using a squeeze bottle or piping bag.
- Use a scribe tool or toothpick to spread icing into corners and pop air bubbles.
- Let the base layer dry for at least 2 hours before adding details.
Step 4: Add Details & Layers
- Use stiff or medium consistency icing for intricate designs, swirls, or lettering.
- Wait until the base layer is dry to add layers for a dimensional effect.
Step 5: Dry and Store
- Allow cookies to dry at room temperature for 8-12 hours before packaging.
- Store in an airtight container to maintain freshness.
Advanced Techniques for Cookie Decorating
🌟 Wet-on-Wet Technique – Apply details while the base layer is still wet to create marbling or blended effects.
🌟 Layering & Dimension – Let each icing layer dry before adding another for a 3D look.
🌟 Stenciling & Airbrushing – Use stencils or airbrushing for intricate patterns.
🌟 Painting on Icing – Mix food coloring with alcohol or lemon extract to paint on dried royal icing.
Common Mistakes & How to Fix Them
❌ Icing is too runny? Add more powdered sugar, a little at a time.
❌ Icing dries too quickly? Cover it with plastic wrap to prevent crusting.
❌ Air bubbles in icing? Use a scribe tool to pop them before icing dries.
❌ Uneven drying? Let cookies dry in a room with low humidity for a smooth finish.
Final Thoughts
Decorating cookies with royal icing is both an art and a science. With practice, patience, and the right techniques, you can create stunning edible works of art. Whether you’re making festive holiday cookies or custom treats for special occasions, mastering royal icing will take your baking to the next level.
Ready to start decorating? Grab your supplies, experiment with colors and textures, and most importantly—have fun!

